Integrate your Cisco Enterprise Wireless access points and LAN controller with your MyWiFi account and enable guest access capabilities. This article provides the general parameters for integrating a Cisco Wireless LAN Controller.
WLAN - Security
Layer 2
- None
Layer 3
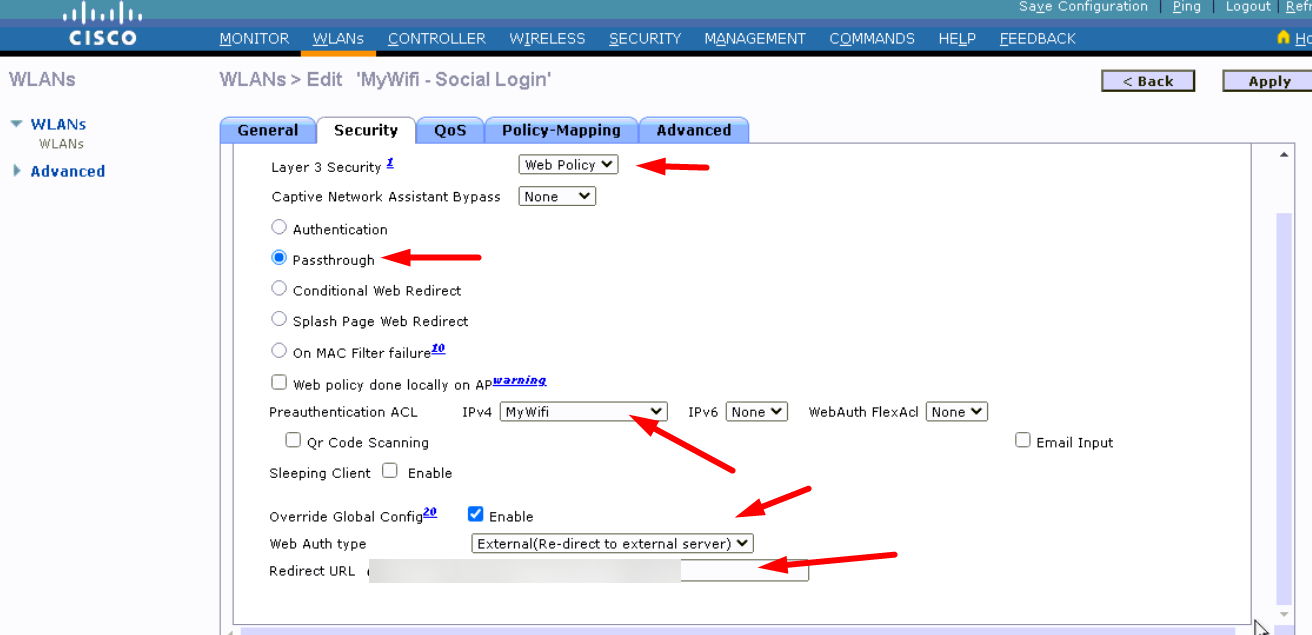
- Layer 3 Security: None
- Captive Network Assistant Bypass: None
- Web Policy: Checked and set to Passthrough
- Pre-authentication ACL: Set to Walled Garden entries provided
- Override Global Config: Checked (Enabled)
- Web Auth type: External (Re-direct to external server)
- Redirect URL: Set to your custom social portal domain or https://securewifilogin.com if a custom domain is not set.
AAA Servers

Authentication Server 1
- IP Address: 35.174.133.59
- Port: 1812
- Shared Secret: mywifi
- Confirm Secret: mywifi
Authentication Server 2
- IP Address: 52.4.206.21
- Port: 1812
- Shared Secret: mywifi
- Confirm Secret: mywifi
Accounting Server 1
- IP Address: 35.174.133.59
- Port: 1813
- Shared Secret: mywifi
- Confirm Secret: mywifi
Accounting Server 2
- IP Address: 52.4.206.21
- Port: 1813
- Shared Secret: mywifi
- Confirm Secret: mywifi
Retry Policy
- Request Timeout: 3 seconds
- Max Number of Retries: 2 times
- Max Number of Consecutive Drop Packets: 1
- Reconnect Primary: 5 minutes
HOTSPOT Settings
Hotspot service settings are located in the tab: Configure / Hotspot Services / Hotspot Services.
Create a new record with the following details:
- Name: ex. MyWiFi Guest Portal
Redirection
- WISPr Smart Client Support: select Enabled
- Smart Client HTTP Secure: select HTTP
- Login Page: https://securewifilogin.com or Custom Social Portal
User Session
- Session Timeout: Unchecked
- Grace Period: Unchecked
Authentication/Accounting Servers
- Authentication Server: Select Server entered as MyWiFi RADIUS Auth, selection Enable MAC authentication bypass (no redirection) leave turned off due to your needs
- Accounting Server: Select Server entered as MyWiFi RADIUS Acc and selection Send Interim-Update every enter 5 minutes
- Wireless Client Isolation: Leave both selections turned off according to your needs
Walled Garden / Domain Whitelist / ACL settings
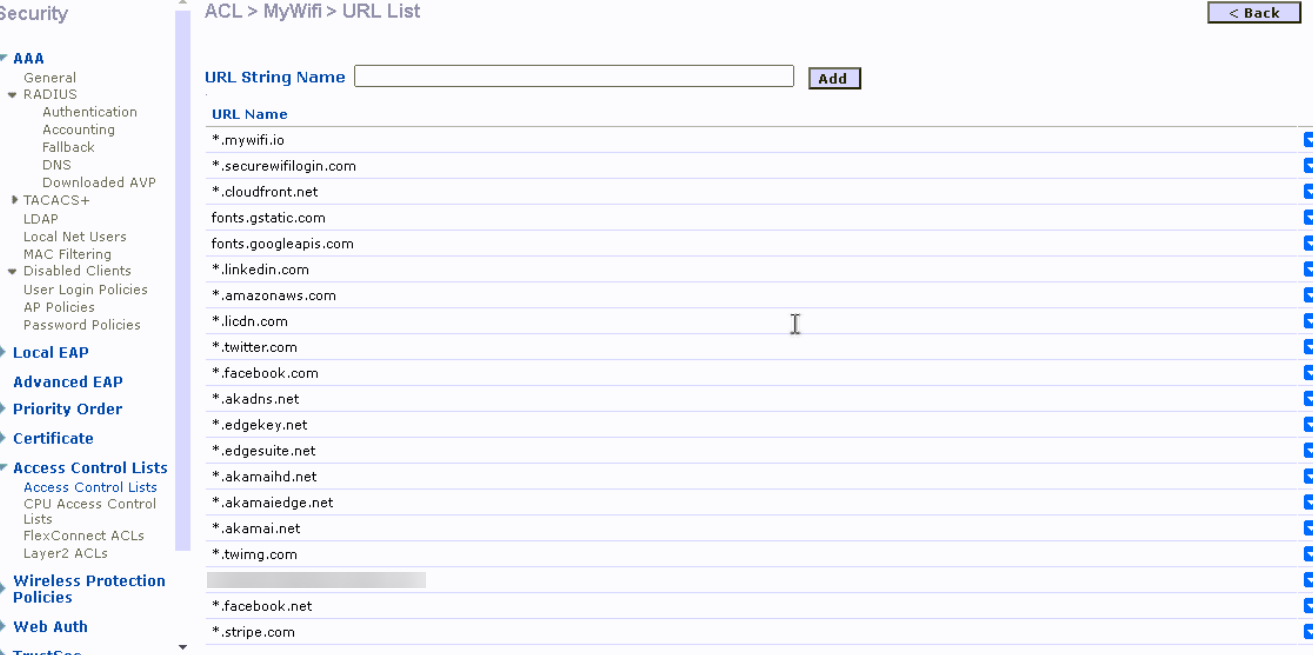
The Walled Garden / Domain Whitelist /ACL settings, which are generally located in the hotspot settings, allow specific domains to be accessed before authentication -- generally, these are domains that need to be used as part of authentication.
All the domains individually are in the format of *.domain.com.
Here is the complete list of domains that need to be whitelisted:
NOTE: If you have a custom social portal URL, enter that URL in the first line, in place of *. -- otherwise your guests won't be able to connect to your campaign.
*.
*.mywifi.io
*.securewifilogin.com
*.cloudfront.net
fonts.gstatic.com
fonts.googleapis.com
*.linkedin.com
*.amazonaws.com
*.licdn.com
*.twitter.com
*.facebook.com
*.akadns.net
*.edgekey.net
*.edgesuite.net
*.akamaihd.net
*.akamaiedge.net
*.akamai.net
*.twimg.com
*.instagram.com
*.facebook.net
*.stripe.com
*.paypal.com
*.paypalobjects.com
*.twilio.com
*.vk.com
Adding Cisco in MyWiFi
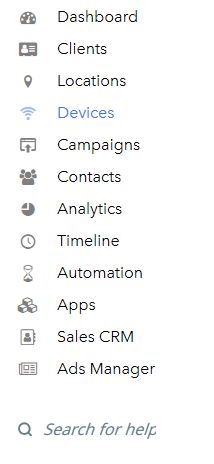
Select Devices from the main menu.
Click Add New Device.

Select the Location, enter a Device Name, and choose Cisco Meraki.
Provide the device's MAC Address. You can add multiple MAC address at once by separating them with commas. Be sure to add the WLC first, save, then reopen the device and add the access points.
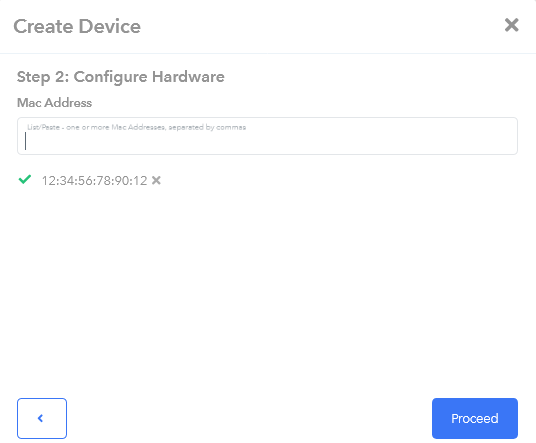
*NOTE: When adding the device to the MyWiFi control panel the WLC needs to be added first and the access points need to be added as sub devices. For the access points, you will need to add the Base Radio MAC address.

Congratulations! You have now configured your Cisco Enterprise Wireless LAN Controller to use your MyWiFi social portal.
Comments
Please sign in to leave a comment.