SendGrid and MyWiFi
Integrate your SendGrid account with MyWiFi so that you can send emails, notifications, alerts, marketing and much more to your social WiFi guests.
Required:
- Active subscription with SendGrid.
- Active MyWiFi subscription.
- A location with an associated campaign.
SendGrid setup
You will need to log in to your SendGrid account and retrieve your account API key before integrating it with MyWiFi.
- Log in to your SendGrid account.
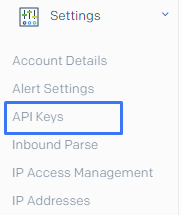
- Select Settings from the main menu.

- Select API Keys.
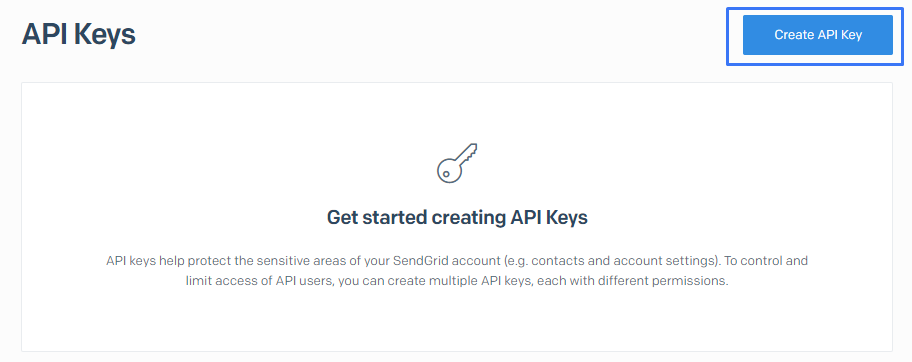
- Click Create API Key.
- Enter an API Key Name -- you can name it whatever you'd like.

- Select Restricted Access for API Key Permissions. You only need to grant specific access to your account, so that emails can be sent and tracked through MyWiFi.

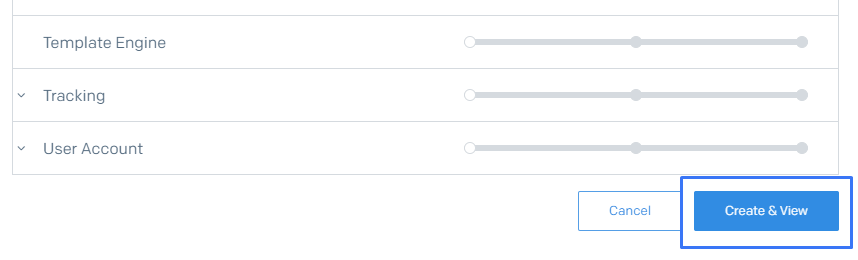
- Grant Full Access to the following areas: Mail Send, Mail Settings,and Tracking.


- Click Create & View located at the bottom of the page to create your API key.
- Double click the API Key to copy it, then paste it in a secure place -- you can't re-view this API key within SendGrid, and you'll need it to integrate with MyWiFi.

SendGrid integration
Now that you have your SendGrid API Key you can integrate with MyWiFi.
- Log in to your MyWiFi dashboard.
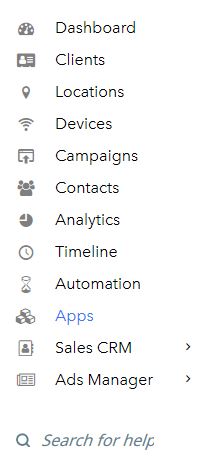
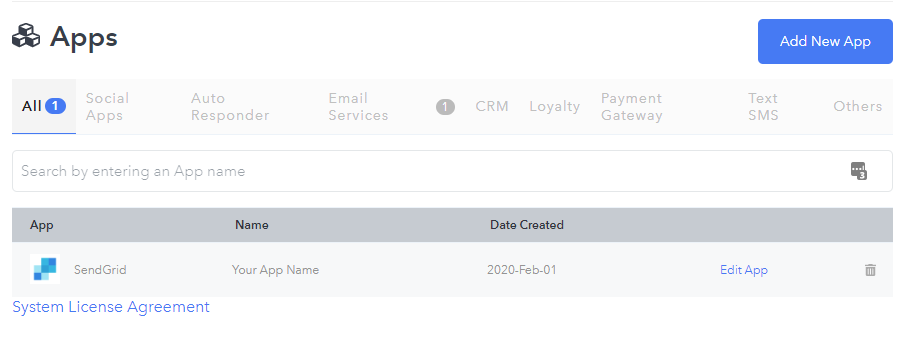
- Select Apps from the main menu.
- Click Add New App.

- Select Email Services.
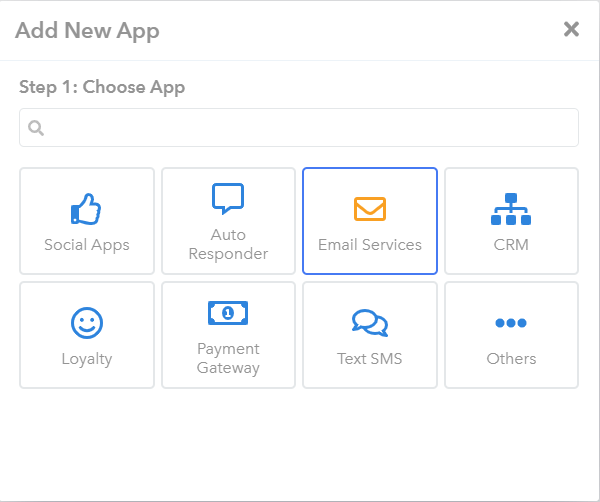
- Select SendGrid.

- Decide on an App Name and enter the SendGrid API Key. The name can be anything you'd like, and is strictly used internally.
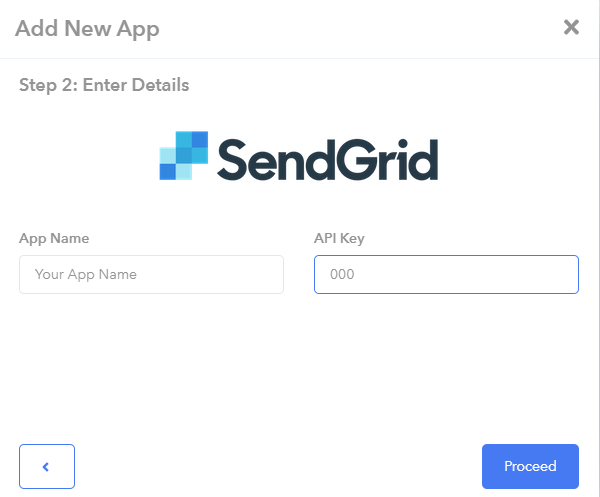
- Click Proceed.
SendGrid automation
Now that your SendGrid account has been integrated with MyWiFi, you can begin creating automations with it.
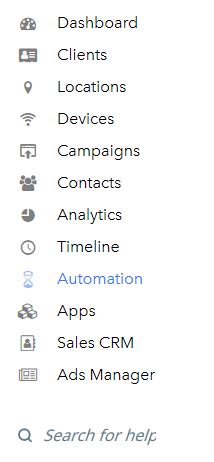
- Select Automation from the main menu.
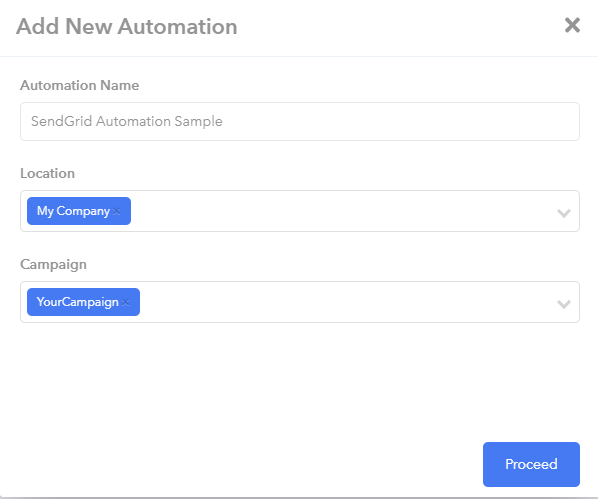
- Click Add New Automation.

- Decide on an Automation Name, and select the Location and Campaign this automation is for.
- Click Proceed.
- Choose a trigger -- we suggest Connect. This will trigger the automation every time a guest connects to the WiFi.

- Choose a delay -- We suggest Real Time, so that your automation will trigger immediately.

- Choose a send frequency -- we suggest Always to keep your information as up-to-date as possible.

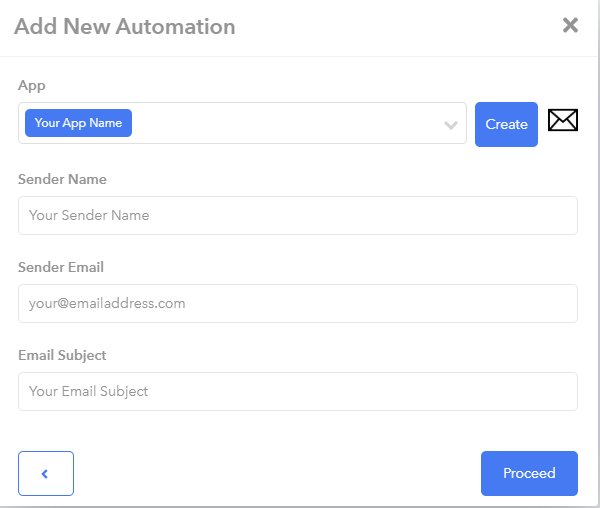
- Select Email from the list of available apps.
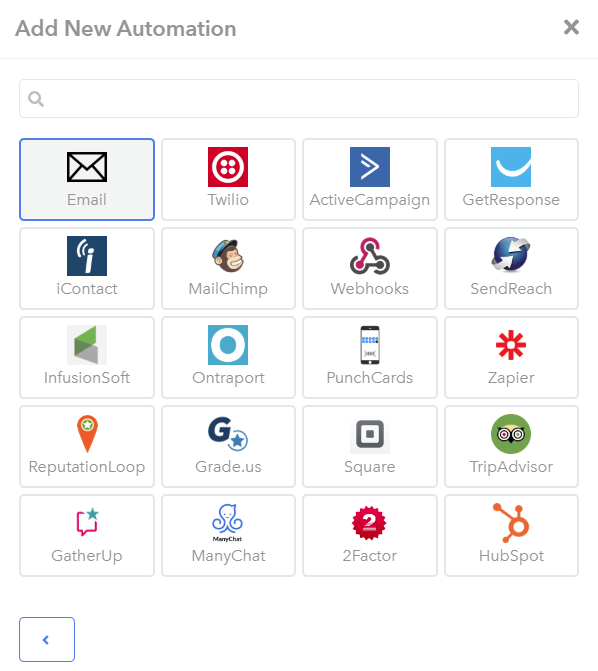
- Select your SendGrid app from the App drop-down menu.
- Provide the sender details - Sender Name, Sender Email, and Subject are all required fields. The sender email does not need to be a verified email address, but it should be if you want to receive any replies!
- Click Proceed.
- Choose your starting point: from scratch, from one of our many templates, or from a template you've previously created.
 Choose
 - To customize your email, drag and drop page elements from the right-hand menu into your email. If you want to learn more about our WYSIWYG email editor and its capabilities, read our in-depth article!
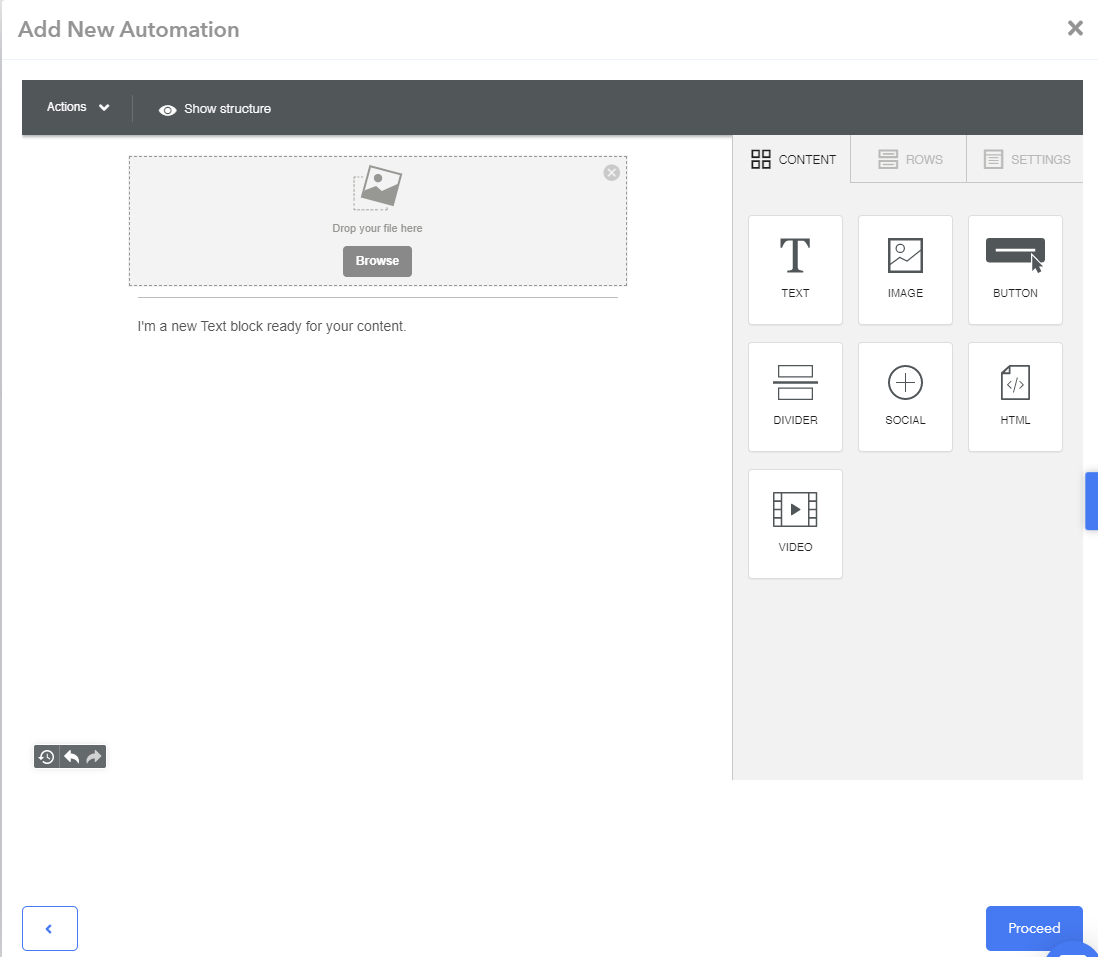
- Click Proceed.
Test the automation
If you would like to test your new SendGrid automation, please read the following article: Testing your Automation.
Need Help?
If you have any questions, please contact our support team by clicking the support icon located in the bottom right-hand corner of this page.
Comments
Please sign in to leave a comment.